
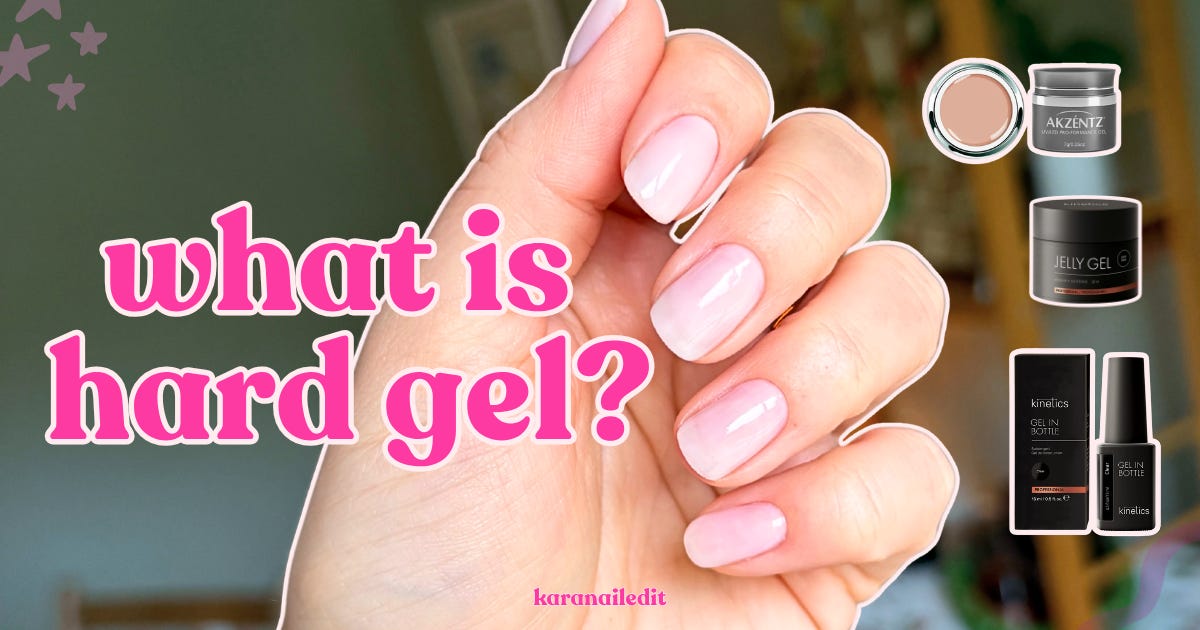
What Is Hard Builder Gel? Everything you need to know about this viral nail product!
This is a post from my newsletter. Subscribe here so you get these types of articles sent directly to your inbox!
Hi! Welcome back to my newsletter :) If you’re new here, I’m Kara! I’m a licensed nail tech and a certified educator and I love gabbing on about nails and nail health. This month I’m focusing on a few educational topics here that I always get asked about. Today I’m answering the question:
What Is Hard Gel?
Before we get into everything you need to know, have you read my previous post from last week? I think this will really help you understand different types of gel, and this post is going to build off of last week’s!
Now let’s get into What is Hard Gel?
High Level Explanation: Essentially, hard gel is manufactured to have more tightly linked chains of ingredients which make it solvent resistant, more rigid, and non-porous, so it cannot be soaked off with acetone. Generally it has some level of flexibility still but less than soft gel.
I have been using hard gel for a few months personally, and I’m really loving it. It has similarities to soft gel, but also has to be treated differently to be used properly!
How Do You Remove It? Since you cannot soak off this product, you have to file it off to remove it. Since it’s so durable, you’re also able to do rebalances with your manicures. Here’s a video on this process if you want to learn more! A few more things on this:
I’d recommend using an e-file with a carbide bit to remove this product, rather than hand filing because that will take so long and just not be fun. So if you aren’t comfortable using an e-file, I’d recommend taking my e-file class to learn - it’s actually the best tool that really elevated my manicures! Or you can of course use soft gel instead too.
Technically, since you need to put a soft gel base or rubber base gel under hard gel, you can file off the hard gel layers until you reach your clear base and then soak off the product from there. So it’s not like you are stuck with this product on forever! You just aren’t able to soak off the actual hard gel like you would be able to with a soft builder.
Why Would You Use It Over Soft Gel?
Hard gel can be so useful for different issues with the nails but also it can be applied in a thinner overlay than soft gel for anyone who likes a really natural look. Here are some other use cases: free edge armoring, building extensions, repairing broken nails, repairing sidewalls, maintaining shapes (like square), providing support for long or very strong nails.
It sounds counterintuitive, but hard gel can also be a really good option for weak, bendy nails. If nails are really bendy underneath a soft gel overlay, the gel and nails might move enough and lift off. However, if the nails have hard gel on, it will hold them in place and not allow them to bend and flex as much and it might stay on better!
It can take some experimenting to find the right gel for each set of nails, but I really enjoy having options and being able to try different things depending on the state of my nails or client’s nails.
One of my favorite things about hard gel:
This might sound really obvious, but one of the main differences I notice from using hard gel vs. soft semi-hard gel is that the shape that I do on day 1 of my manicure stays maintained and looks essentially the same on day 21 or whenever I redo them. This is because soft semi-hard gel is more flexible, so as your nail grows and changes shape, the manicure shape can change too. But since hard gel is more rigid, it holds the shape in place really well. This is huge especially if you like square or soft square nails!
Types of Hard Gel:
Pot vs. Bottle:
Historically, hard gel was mostly available in pots and was a very thick formula that was not user friendly. Now, I feel like there are so many innovations and ranges of hard gel, it’s so much easier to find a product that works for whatever nails you’re working with.
Hard gels are still widely available in pots but bottled hard gel is becoming more popular. I find bottled hard gel to have a very similar consistency to bottled semi-hard builder gels so if you’re familiar with those, you might really enjoy a bottled option.
Potted hard gels come in a few different types that I’ll touch on in a second, but the benefit of this format is that you can really control the amount that you pick up on your brush, and also it allows you to more easily use the hard gel for other use cases like armoring or repairing, while also having more control over overlays.
Self Leveling vs. Thixotropic Gel:
Hard gel comes in two different consistencies: self leveling and thixotropic. Self leveling means the gel consistency is runny/moveable enough the spread and flow after it’s placed on the nail. It will flood the skin if it’s not cured. Thixotropic means the gel won’t move unless you move it. It’s a thicker, more viscous formula that is mainly used for armoring, repairing, and extensions. This gel will not flood the skin.
The fun thing about these two types of gel is that you can use them together depending on the nail’s needs. I just did a manicure where I armored the free edge with thixotropic gel, and then did the overlay with a self leveling formula. This is such a great way to reinforce the nail and give it extra strength with the thicker gel, and then keep the overlay really thin with the self leveling gel.
With semi-hard gel, you can of course have a nice strong overlay too, but the nail must be built up at least a little bit with structure so that it’s supported. With hard gel, the structure still matters, but you’re just able to use a little bit less product for a very strong nail.
Application Techniques:
All hard gel that I’ve heard of and used requires a base gel underneath it. Unless the brand specifically says a base gel isn’t necessary, it probably is. Especially since hard gel is rigid and not very flexible, a flexible, adhesive base gel underneath will really be crucial for adhesion and retention.
My favorite base gels are the Kokoist Mega Stick Base, Kinetics Max Base or Rubber Base.
A thin overlay is very important for hard gel because it will ensure even curing, and it will allow you to have the proper strong structure without adding unnecessary weight on the nails. If hard gel is applied too thin, it will likely crack or lift, so you still need to build the overlay a little bit.
The sidewalls & cuticle area are very flexible, so it’s especially important to keep the gel thin here so that it doesn’t lift and the grow out is more natural. A good rule of thumb is that thick gel in flexible areas = lifting.
The free edge needs a little bit of thickness to be strong and not lift, but not TOO much (for the same rule as above). I also always do a finish file where I file down a little bit of the natural nail underneath the free edge so the hard gel is the first point of contact with any surface. This will help prevent lifting too.
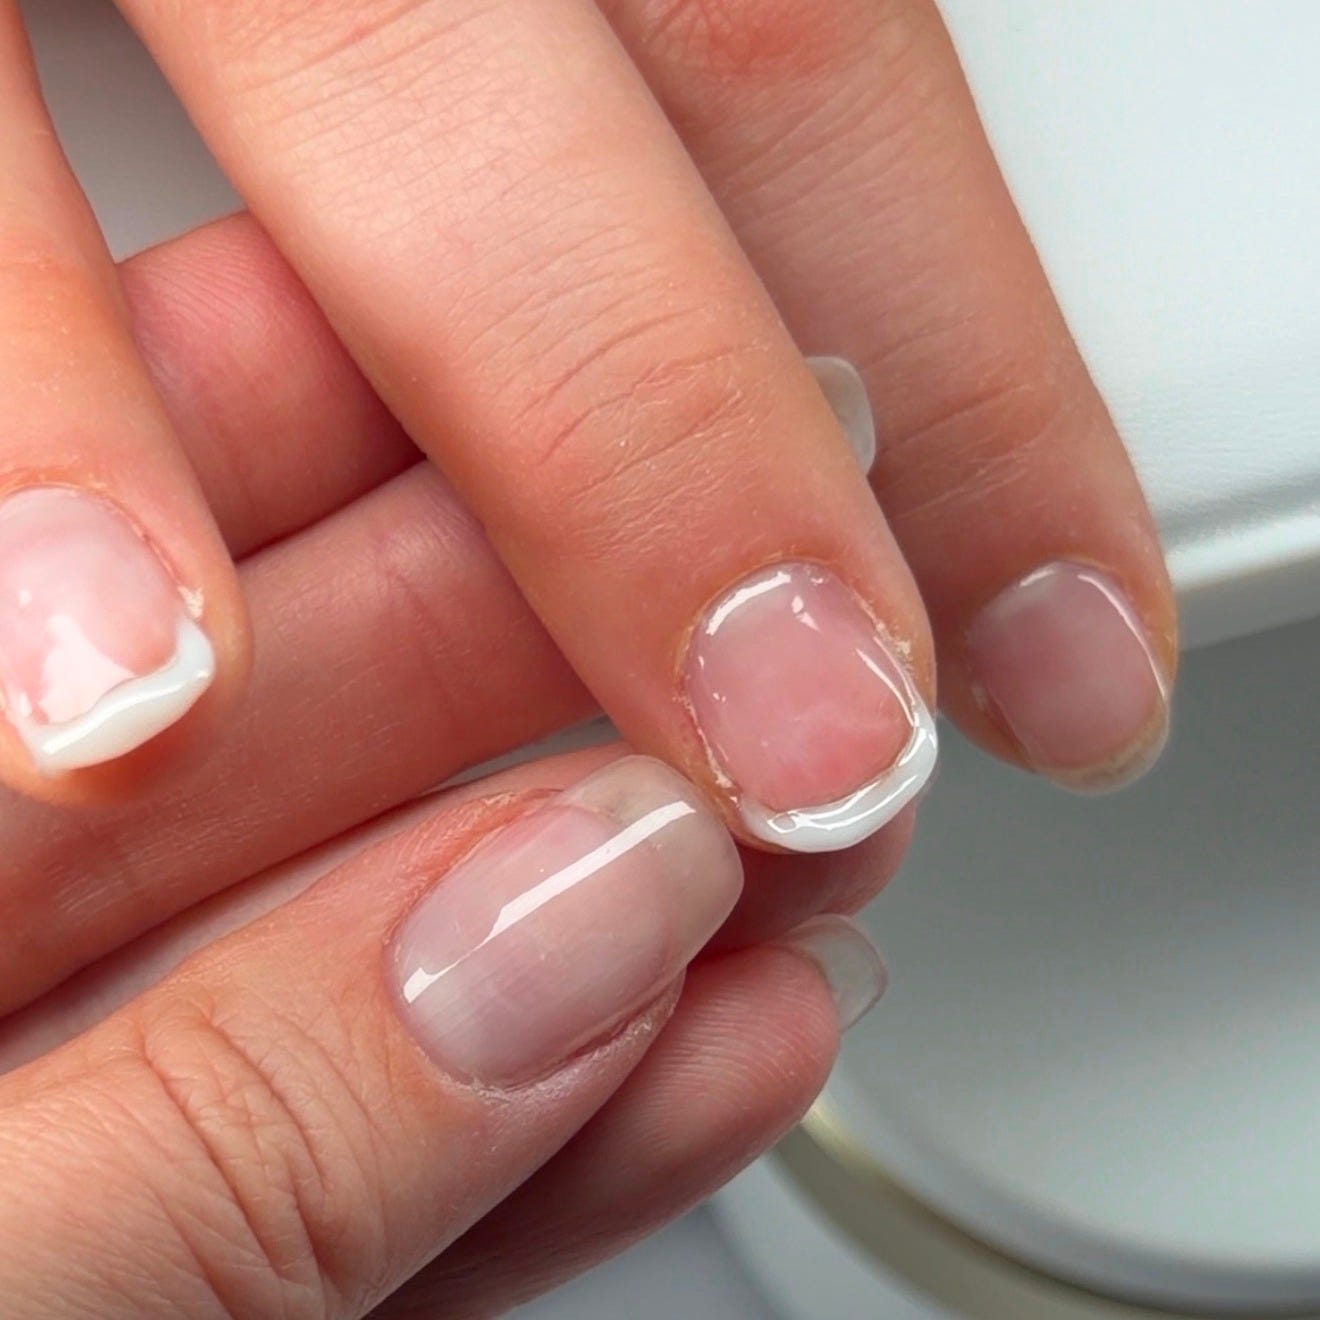
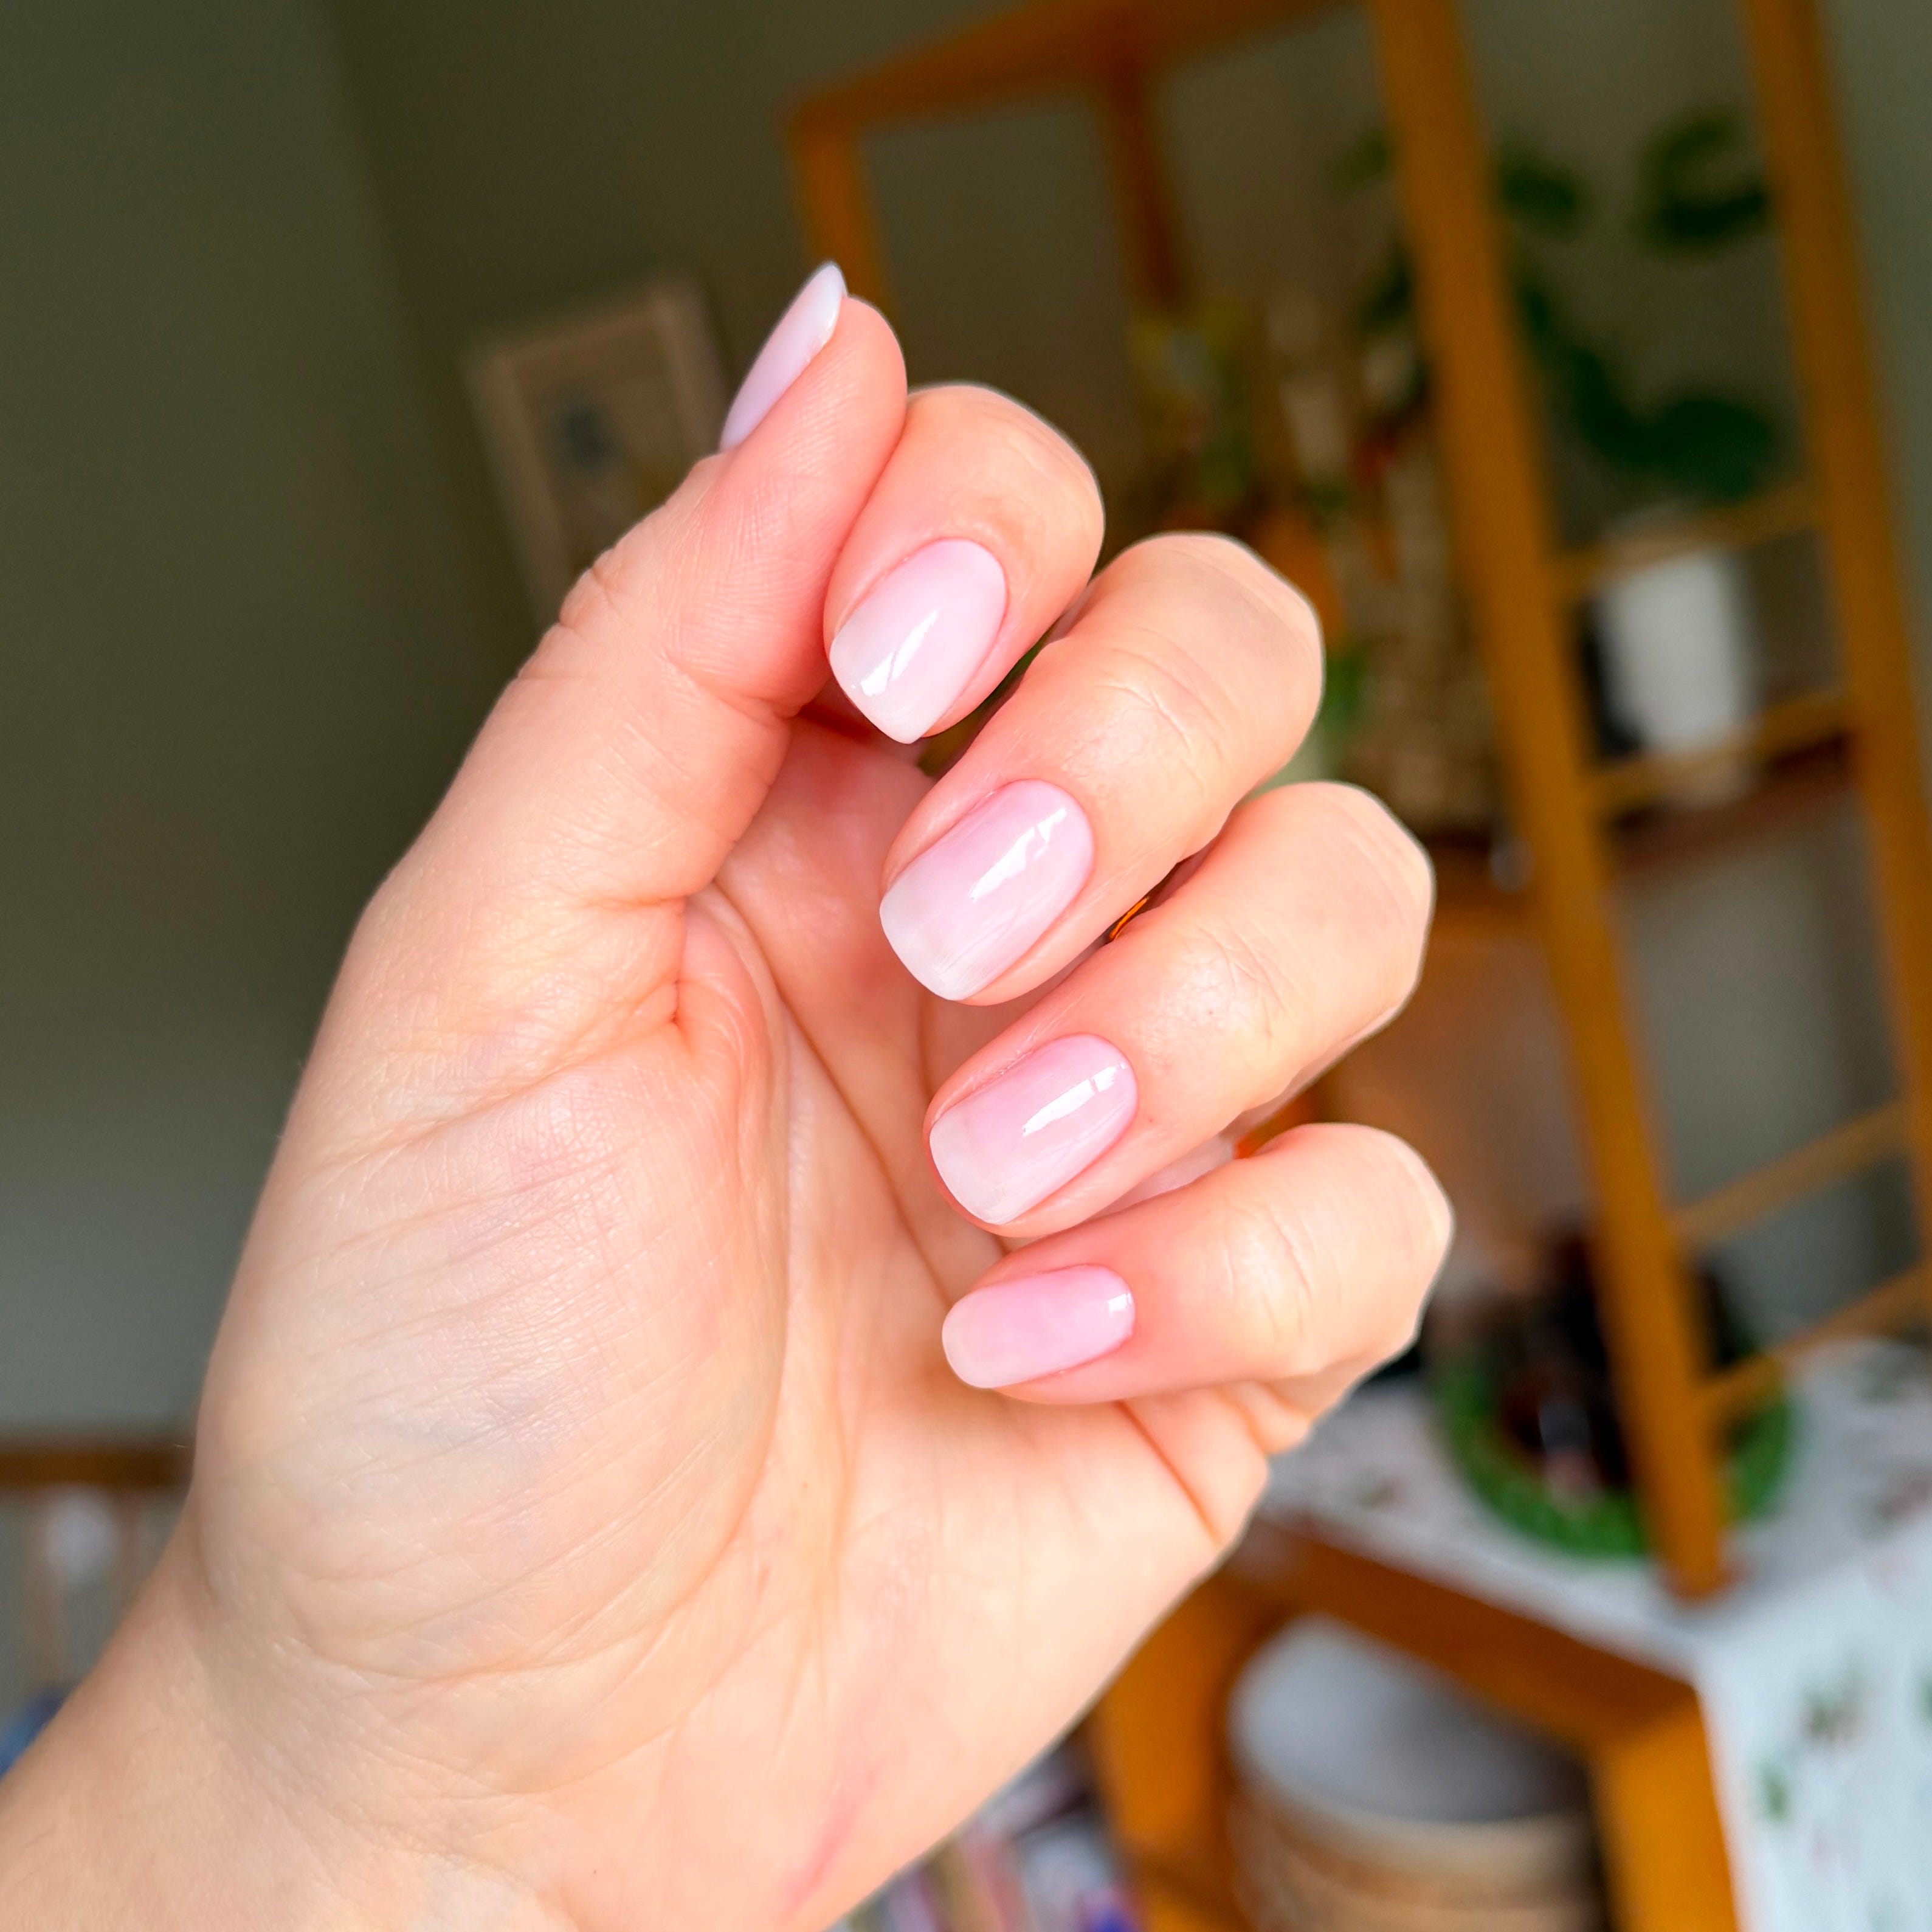
Here’s an example of a semi-hard builder gel overlay vs. a hard gel overlay. I personally love the look of both, it’s just a little bit different!

One more thing about hard gel application is that sometimes it will require some form of refining, whether it’s surface filing or refining the shape and free edge, some hard gels won’t self level quite as much as you might like so filing it can help get the final look you want.
Some hard gels self level so well, like just as nicely as semi-hard builders so you won’t need to refine if you like the look. But if you do armoring or repairs paired with this type of gel, refining might be necessary. It really just depends!
One thing I actually like about refining hard gel is that you don’t need to spend quite as much time on the application, because you’ll be spending a few extra minutes of filing. So it’s kind of give and take.
Hard Gel Recommendations:
Here are some of my favorite hard gels I’ve tried:
Self Leveling:
Quick note: Kinetics has quickly become one of my favorite new gel brands. They really made me fall in love with hard gel. The quality is amazing, there are so many products that help you achieve whatever nail goals you have, and the colors are amazing. I am going to do a Kinetics 101 post this month too, so make sure you’re subscribed if you want to learn more!
One of my favorite things about Kinetics is that they have the same color range in all of their builder gels. So for example, if you love Milky White you could get it in the Fiber Base and the Potted Hard Gel so you can switch between formulas whenever you need to. Or you could get the Milky White thixotropic gel for armoring and then do your overlay with one of the bottled gels and they would completely match!
You can get Kinetics products either from Nail Mart USA or Kinetics USA and my promo code KARA10 works for 10% off at both stores! Sometimes if something is out of stock on Nail Mart, you can find it on Kinetics, just FYI :)


Self leveling formula in a bottle, smaller brush that makes application and refining really easy. This hard gel is great natural overlays for most nails, from weaker to stronger, short to medium long. They don’t recommend using it for extensions or repairs.
Comes in 6 classic colors, clear, and new shimmer glittery effect shades too. My favorites are Light Sand, Natural Pink, Clear, and Milky Frost.
Shop Gel in Bottle on Nail Mart USA or Kinetics USA
Self leveling formula in a pot, it’s slightly thicker than the bottled formula and not as runny. This hard gel is great natural overlays for most nails, from weaker to stronger, short to medium long. You can also use this gel for short to medium extensions.
Comes in 6 classic colors, clear, and new shimmer glittery effect shades too. I’ve only tried Classic Rose and it’s a very pretty classic rosy pink shade!
Shop Gel in Bottle on Nail Mart USA or Kinetics USA
Others:
I just got a pot of Akzentz Trinity hard gel which I’ve heard so many great things about! And I ordered a few American Creator Hard Gels that I will hopefully get soon to test out too!
Above: Akzentz SW1 and Kinetics Milky Stone Top Coat
I also have a bottled self leveling collection from Diami via Sweetie Nail Supply! The colors are so beautiful and the formula is so similar to semi-hard gel, I truly didn’t even know I was using hard gel.
You can use my promo code KARA10 for 10% off at Nail Mart USA and Sweetie Nail Supply!
If you have any favorites, let me know what else I need to try!
Thixotropic:
Medium: This is a medium consistency thixotropic gel in a pot. This is the gel that you’d want to use for armoring tips, rebuilding side walls, and building extensions. It has a thick consistency and won’t self level or flow like the gels above do.
Comes in 6 classic colors and clear. I have Milky White which is perfect for armoring and reinforcing the free edge because it looks really natural!
Strong: This is an even thicker consistency thixotropic gel in a pot. This can be used for the same things as Medium Jelly Gel, but it’s made for extra long extensions since it’s so strong. I really like using it for repairs specifically!
Comes in 3 colors: light rose, light sand, and extreme white, and also clear!
Shop Jelly Gel on Nail Mart USA or Kinetics USA
What else do you want to know about Hard Gel?
Leave a comment and let me know if you have any questions or if there is anything else you want to learn! I am planning to do an entire class about hard gel so stay tuned for that if you want to learn the ins and outs of how to apply it so it lasts and looks great.
Next week, I will be doing another educational newsletter so make sure you’re subscribed so you don’t miss it!
Thanks so much for reading! 💋