What Are Gel Extensions? Free Form Gel Extensions vs. Full Cover Gel Tip Extensions
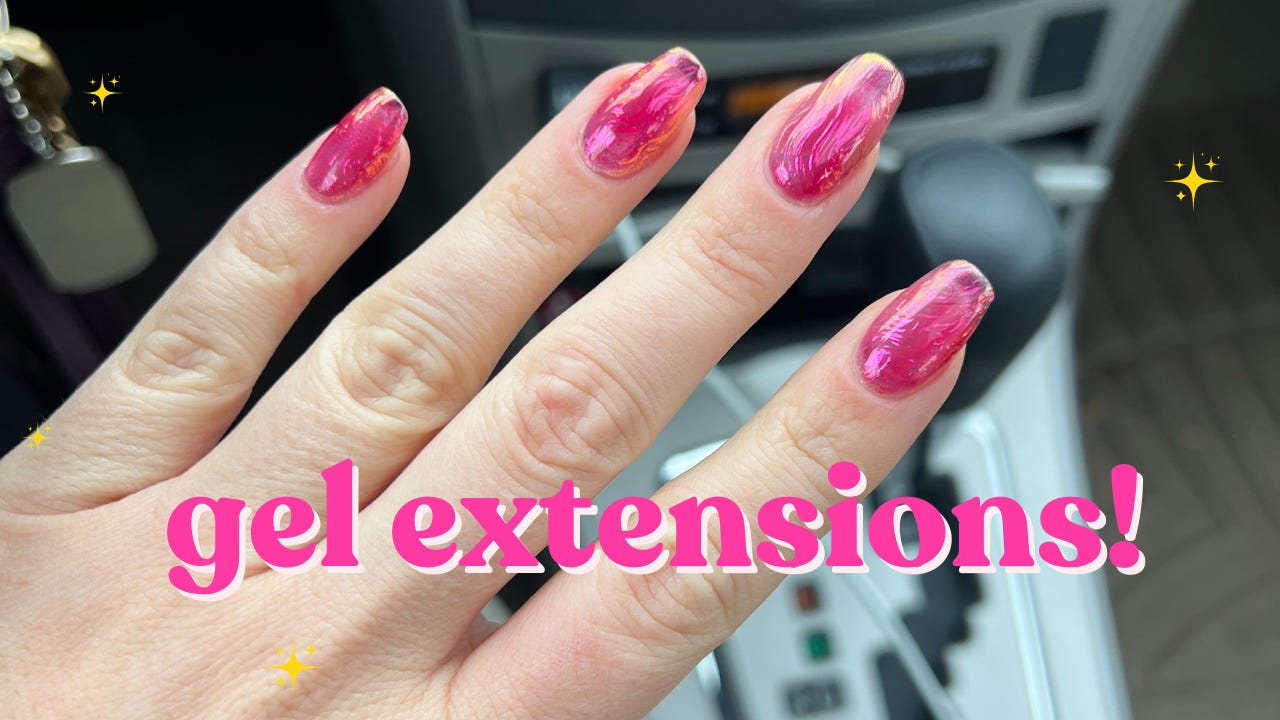
I tried gel extensions for the first time last week!!! To be more specific, I’ve used them before on clients and myself for broken nails or to help nails heal but I’ve never done a full set of 10 extensions on my very own nails before and I might be a convert!
If you’re new to gel extensions, this email will be all about what they are, what I like about them, and how to apply them (with an in-depth tutorial)!! Let’s get into it!
What are gel extensions?
So by definition, gel extensions add length to your nails with gel, and there are several ways to achieve this: free form extensions, full cover tips extensions, partial tip extensions (there are probably more but I’m not familiar with them lol).
I’m specifically going to be talking about the newly reformulated Kokoist Gelips gel extensions in this post because they are my favorite ones!! Gelips are full cover tips that you adhere with an adhesive gel that give your nails extra length and possibly a new shape.
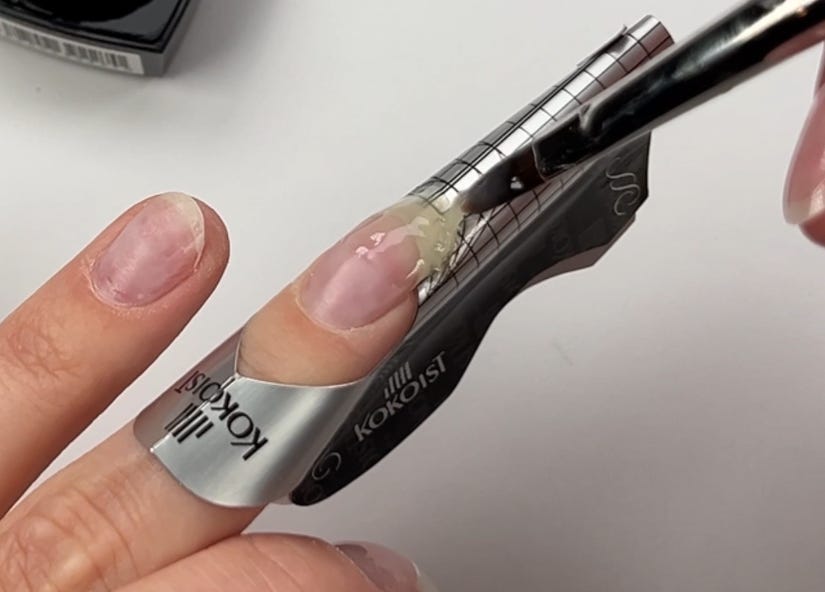
This is different from free form extensions, which use a form that you place underneath your nails to build a new free edge with builder gel.

I’d say Gelips are more similar to a press-on, but the application is different so that it looks more natural and grows out seamlessly with your natural nail. Gelips specifically are made out of a gel-like plastic called abs plastic that is very thin, flexible, and looks very natural on the nail.
Here are a few things I like about Gelips:
-
They come pre-etched on the inside. As you know, gel doesn’t play well with smooth shiny surfaces, so the pre-etched surface helps with adhesion!
-
They come in almond, square, oval and coffin shapes, and short, medium, long and extra long lengths, so there’s really an option for everyone!
-
They come in 10 sizes and are very quick and easy to file if you need a custom fit (I demonstrate this in the video below)
-
Kokoist just reformulated the actual tips so they are now extra thin at the base and a little bit thicker at the tips, which means they blend even better with your natural nails and the thicker tips are more durable to prevent pop offs!
-
You can kind of play around with which bases you like best to adhere them, you can use Mega Stick Base, NT Clear Builder Base, Gelip Bond Base (which I think is discontinued now), Gelip Mochi Bond, or the new Super Gelip Bond (which I am also using in the tutorial below!!).
-
They are a very quick way to add length or a new shape to your nails without waiting weeks or months for your natural nails to grow
-
You can actually fill gelips just like you would with your regular builder gel manicures!! If you want to learn my fill process, check out this tutorial!
-
PS - you can use my code KARA10 for 10% off anything from Kokoist and Nail Thoughts :)
How to apply them!
I did a quick manicure tutorial + valentine’s day nail art tutorial (using magnet glitter + liquid chrome) in my new youtube video this week!! I’d love for you to subscribe and check it out!
The application method for gel extension tips has a little bit of a learning curve in my opinion, especially if you’re doing it on yourself. But I think it’s easy to catch on quickly and Kokoist has several application bond/base options that make it easier too (for example, the Mochi Bond is amazing if you’re doing your own nails because it has a putty texture and your tip stays in place without needing to be held in place once you apply it!!)
Here are the steps:
-
Prep nails
-
Apply base gel and cure
-
Apply bond product of choice to gelip and/or nail if necessary
-
Place gelip slightly above cuticle area and gently apply pressure so the bond evenly coats the nail up to the tip of the natural nail and cure
-
Blend gelip into natural nail & buff surface
-
Apply builder gel
-
Apply color or art
-
Top coat!
If you want to see an in depth tutorial of this process… you’re in luck!
In Depth Gelip Application Tutorial:
ps - let me know if you’d be interested in seeing an in-depth tutorial of how to do gel extensions with the free form method too!!!
Here’s a tutorial breaking down the process I outlined above using the new Short Coffin Gelips and Super Gelip Bond product!! This is slightly thicker than the Gelip Bond Base, so the Gelip doesn’t move quite as much, and you don’t need to use very much product which prevents pooling gel!! I really enjoyed using it and I think it’s a happy medium between the Gelip Bond Base and Gelip Mochi Bond!
Join My Substack To View The Tutorial!
💖


