My Wedding Nails Part 2 + Ring Details! 💍
Welcome back to another installment in my wedding series!! I got married a few months ago and I’m excited to share some of the behind the scenes from the weekend. Today’s post is going to be all about how I polished my nails and kept them looking good for as long as possible, and some wedding ring details!!
I tried 50 different options for my wedding manicure…
Before I get into this post, you have to have the proper background information, of course. I knew I was going to do my own nails for my wedding but I truly had no idea what I wanted to do. I thought it would be fun to do a series of trials to try to find the right manicure, which is how I came to try 50 different manicures before the big day! If you want to see all of the options, make sure to check out this newsletter where I broke down each look and it also has all of the products linked too!
Also, if you missed last week’s post on how I prepped my nails for my wedding (including all of the products I used), make sure to check out this post!
Which one did I ultimately pick?
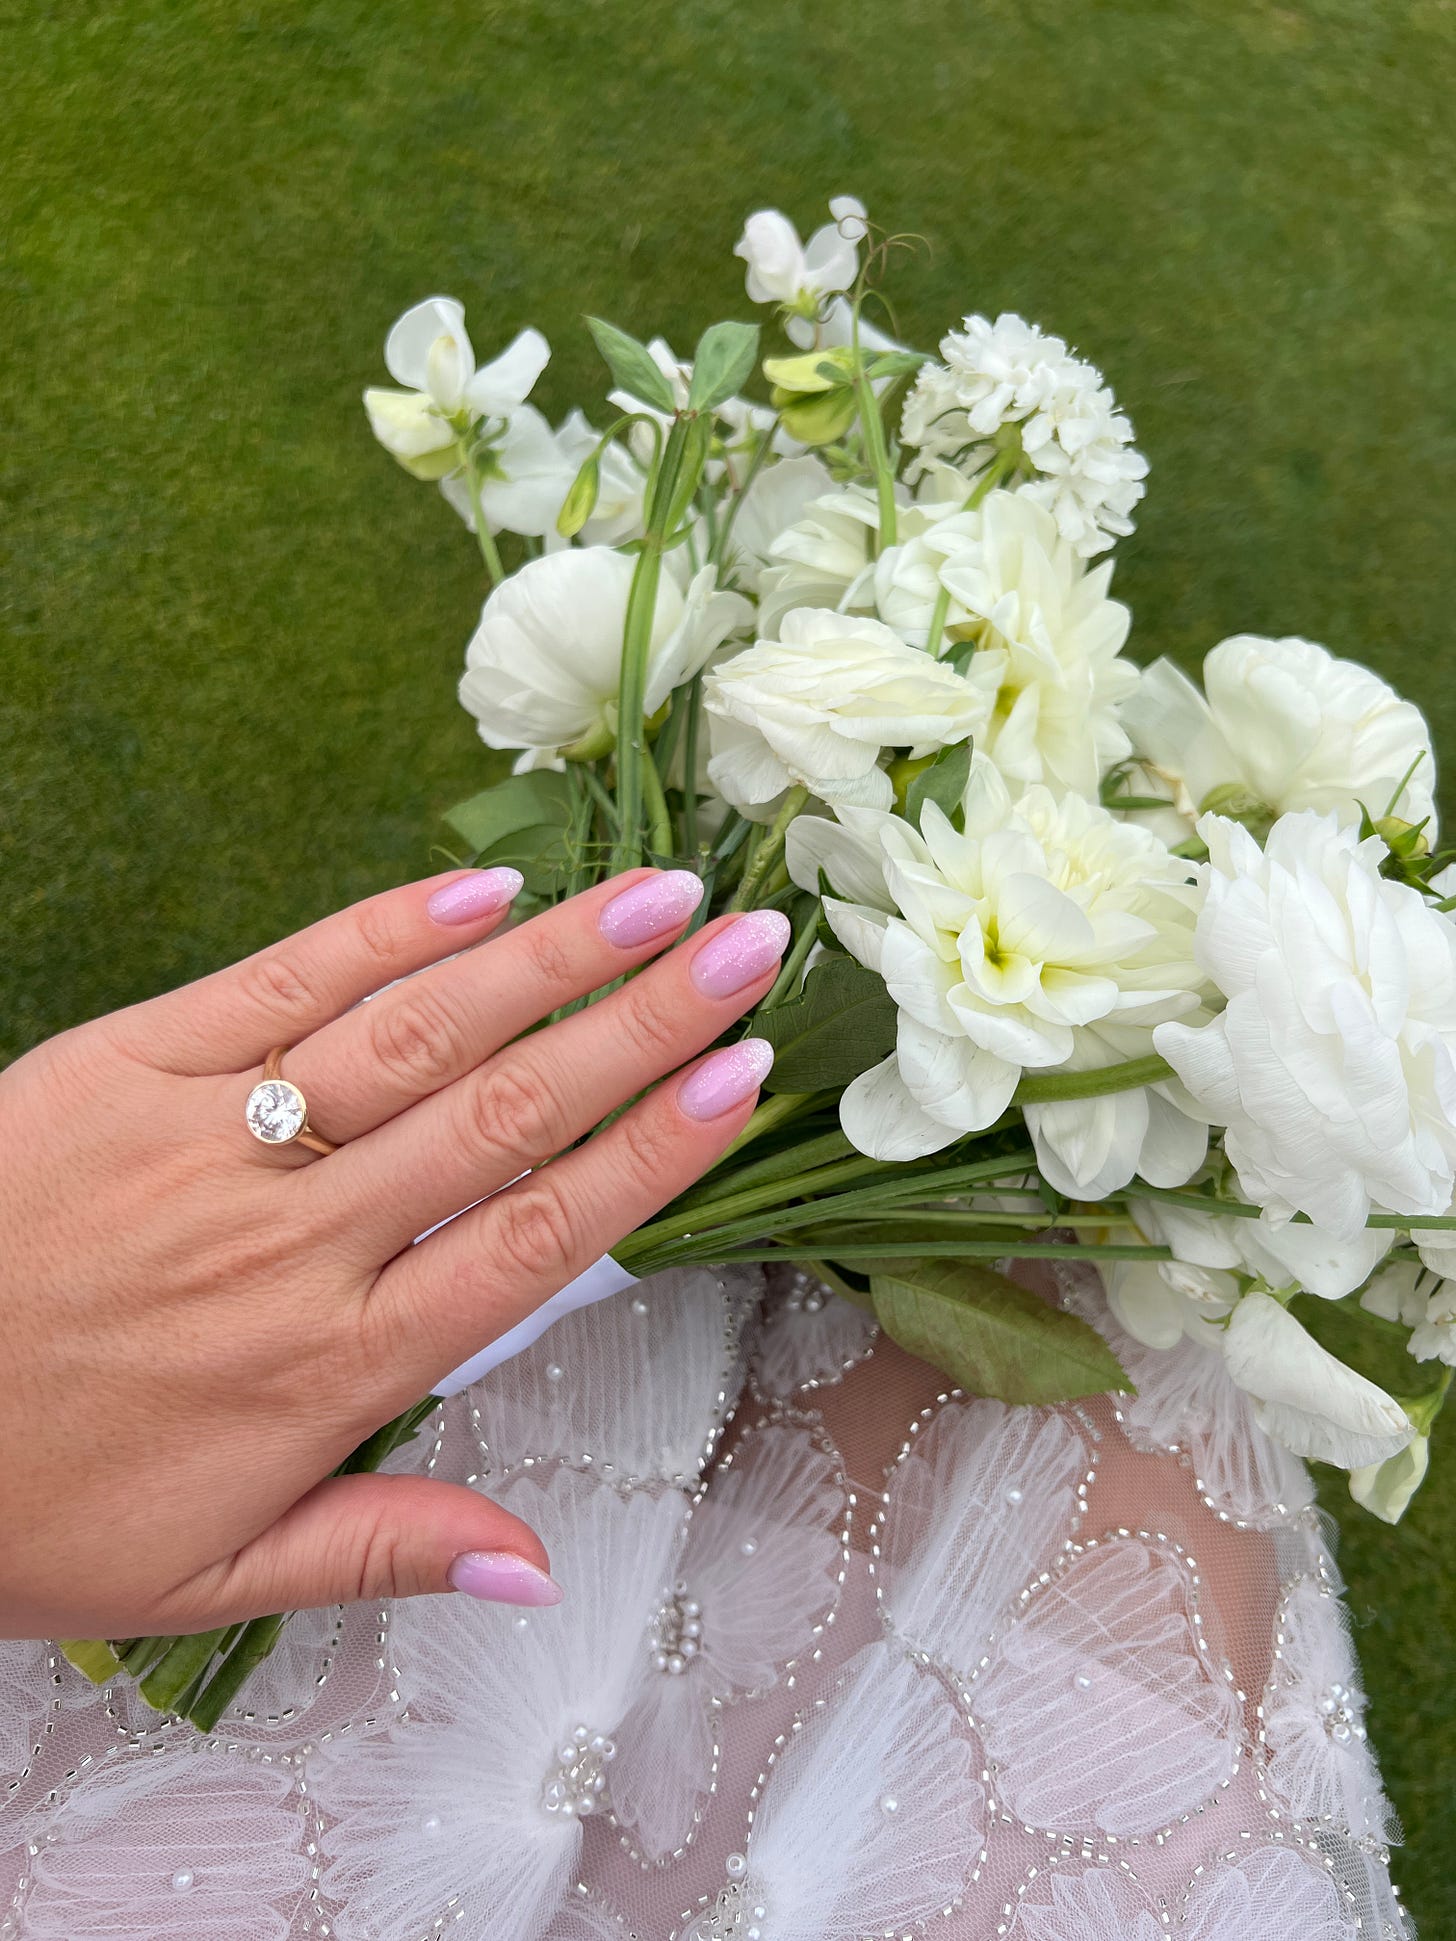
After my experiment, I really loved the look of day 10: the transparent french, but I was really interested in adding some glitter because that’s just so *me*. I was torn between using NT Sweet Tea Base which is a bit more rosy, and Rose Water Base which is more of a baby pink, and I had recently worn Rose Water Base and LOVED it, so I felt most safe choosing that one knowing it was already something I loved the look of.
I also really liked the idea of layering a glitter over a neutral manicure like I did on day 2. Ultimately, I decided to do a little mix of day 10 and day 2, except I landed on using a different glitter than a flash glitter because I thought they almost made my nails look a little grey/cast a weird shadow on the nudes that I wasn’t interested in, and I wanted something a little more subtle!
The winning products:
I’m soooo happy with how these turned out and I feel like they were a perfect representation of a subtle manicure with a little hint of artistry that felt very me :)
Here is everything I used, and stay tuned until the end for an in-depth tutorial of how I did these. I had to do my nails on Tuesday before my wedding because of traveling, so I’m sharing how I polished them to look good and avoid looking grown out by the weekend and also hangnail free!!
You can use code KARA10 for 10% off anything from Kokoist/Nail Thoughts!
Base Gel - Kokoist Mega Stick Base
Tinted Builder Gel - Nail Thoughts Rose Water Base
French Tip - Kokoist Pinkish Sheer Ivory
Top Coat - Kokoist Ultra Diamond Glitter Top Coat
Brush - Nail Thoughts Detailer
My Ring Details!
I also loveeee my wedding rings and I feel like I get questions on them sometimes so I wanted to share some details :)
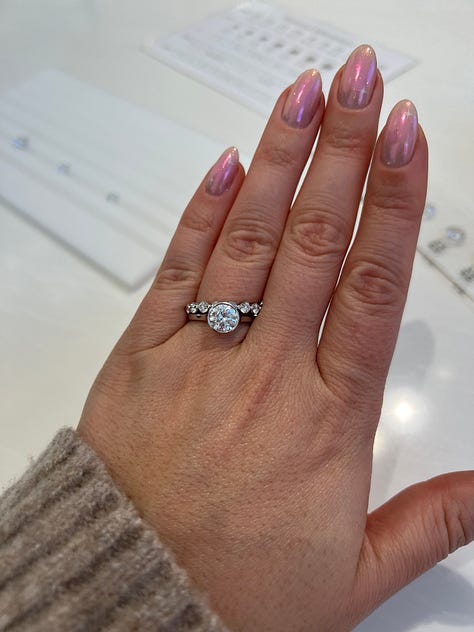
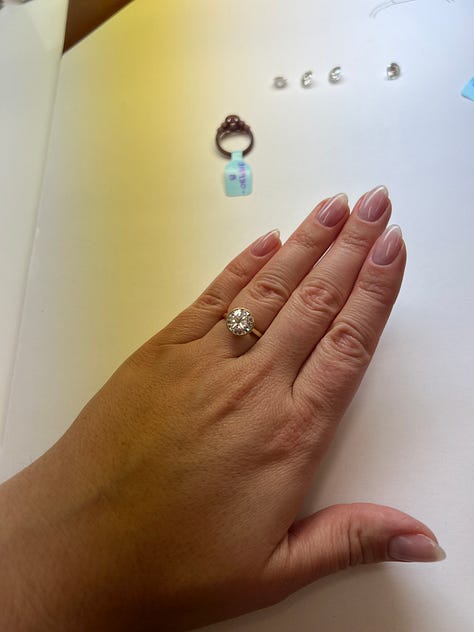
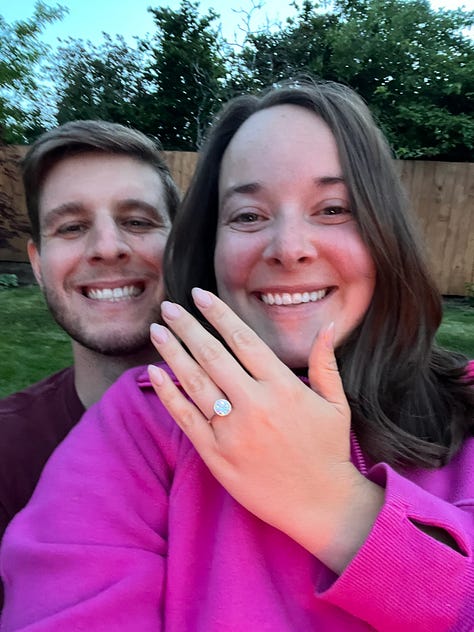
For a little backstory, I thought I wanted to get a round diamond ring, but I was toying with the idea of getting a bezel setting or a classic prong setting. I saw some bezel settings on IG and pinterest and thought they were really unique while still looking pretty classic. After I tried them on I reallyyyy fell in love and decided that was the look I wanted! I also liked how the bezel setting was a little bit taller so a wedding band could fit flush against the engagement band.
We started at Brilliant Earth, where I tried on a few of the different options but I didn’t really love that you couldn’t customize much with the style and I wanted the band to be slightly larger. So we ended up going to a local jeweler in Portland called Malka and they are able to customize anything, and they made a 3D printed version of the ring to test before they actually make it and it turned out perfectly!!!
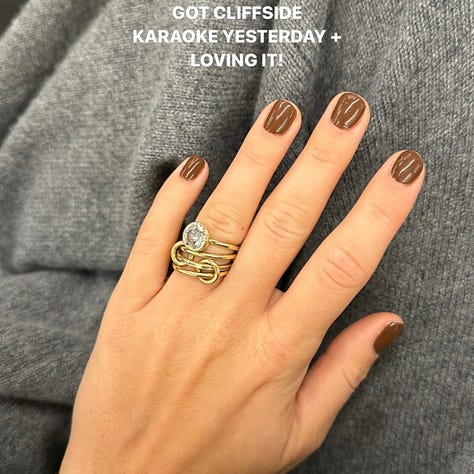
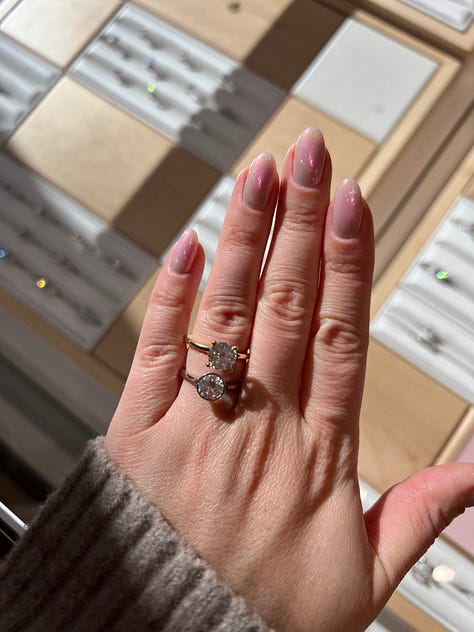
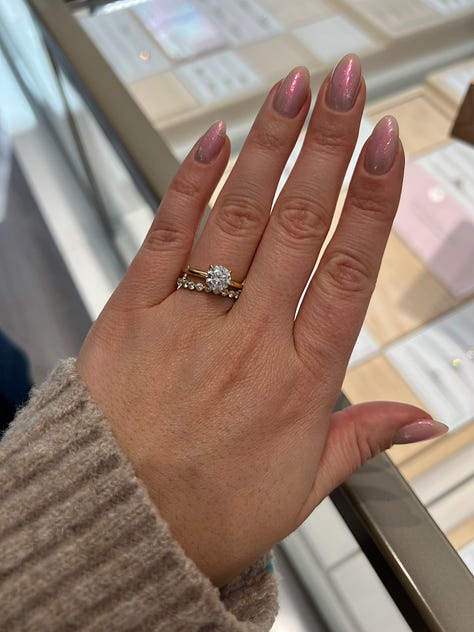
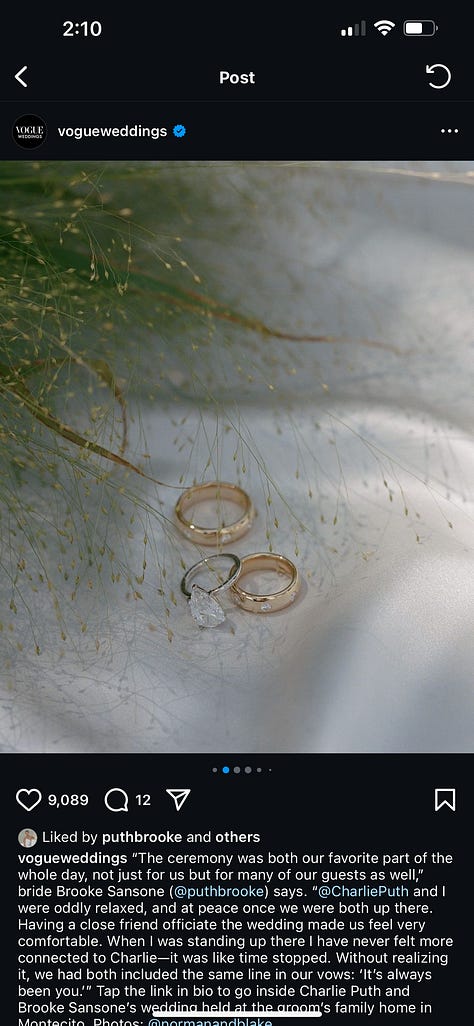
When it was time to choose a wedding band, I didn’t really have any ideas in mind of what I wanted… UNTIL I saw Charlie Puth’s (of all people 😂) wedding (it was soooo gorgeous) and I fell in love with their wedding bands - and they were matching which I thought was so cute!
I literally showed the photo below on the left to the people at Malka and they suggested that I actually choose a men’s wedding band, and then they would just add diamonds to it. We had just picked out Jordan’s ring before this, and I thought it would be fun to match just like Charlie did, so we chose the same ring, but mine had 9 diamonds added :) It’s not quite as domed as Charlie’s rings but I love it!
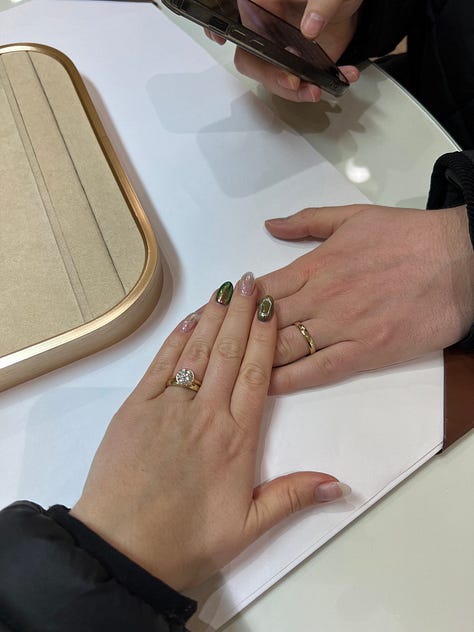
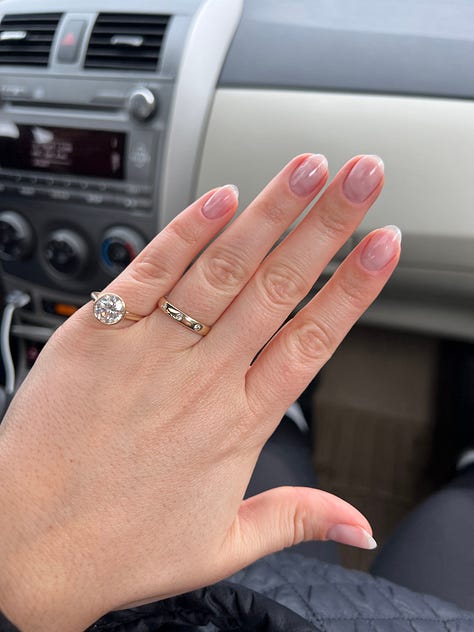
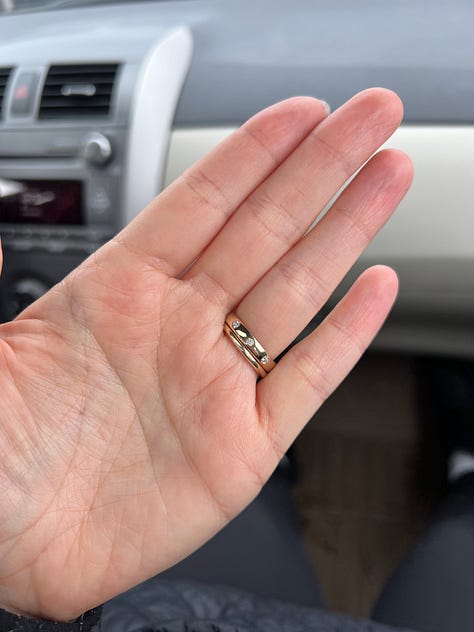
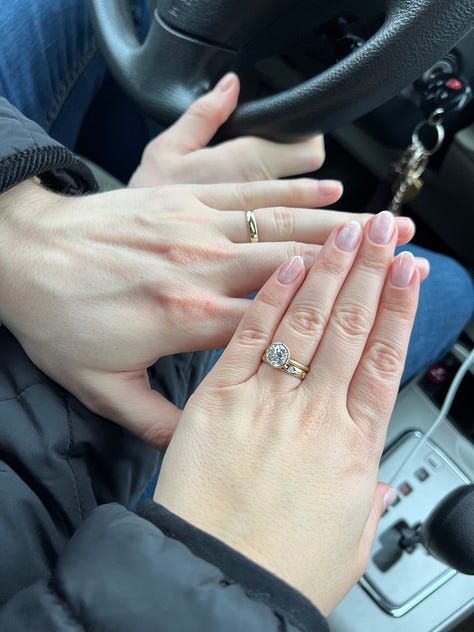
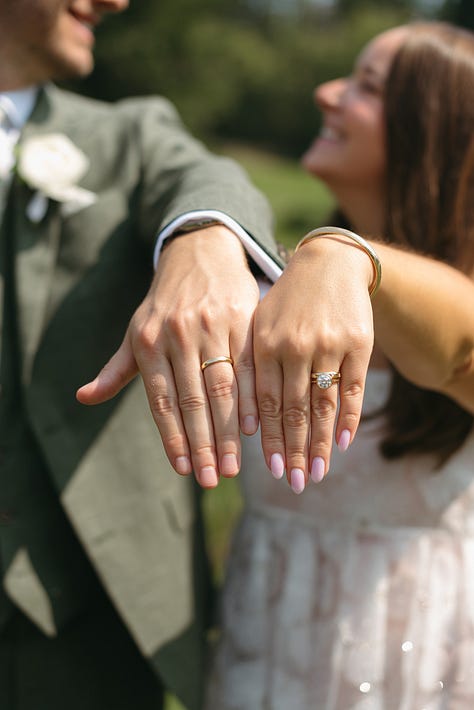
The rings are both so comfortable and I can’t recommend a bezel setting enough. I’ve never had another setting but I will say it’s really nice how nothing gets stuck in prongs (like hair or clothes). It’s just very smooth and comfy to wear!
BYE! 💋

