
My Wedding Nails Part 1 - How I Prepped My Nails
Hello!!!
My wedding was officially over two months ago and I’m finally getting around to doing some round ups about things I wore and did and the like! I’m going to do a short mini series of posts where I share some information about a specific topic and today it’s going to be all about how I prepped my nails for my wedding!

If you missed this newsletter, I explained how I tried 50 different looks to try to find my perfect wedding manicure. It was sooo hard to decide 😂 and as you might be able to imagine, doing that many manicures in a short amount of time was not super gentle on my nails, and I had so much lifting, my cuticles looked so crusty and I basically had to start from scratch.
PS - the MVP of my wedding nails experiment was the Olive & June Peel Off Base which made changing my nail color out 50 times so easy because I could just pop it right off!
So, my nails were in really rough shape and I needed a complete refresh which was actually really nice since I wanted my nails to essentially look the best they ever have for the big day!!
This post is going to have a list of all of the tools I used for prep and an in-depth tutorial explaining exactly what I did to combat the lifted gel and rebalance my builder base so I didn’t have to soak it all off, how I fixed up my crusty cuticles with my e-file, and how I prepped my nails so my manicure would last without any worries until the wedding day!! Let’s get into it!
The Prep Tools 👷🏻♀️
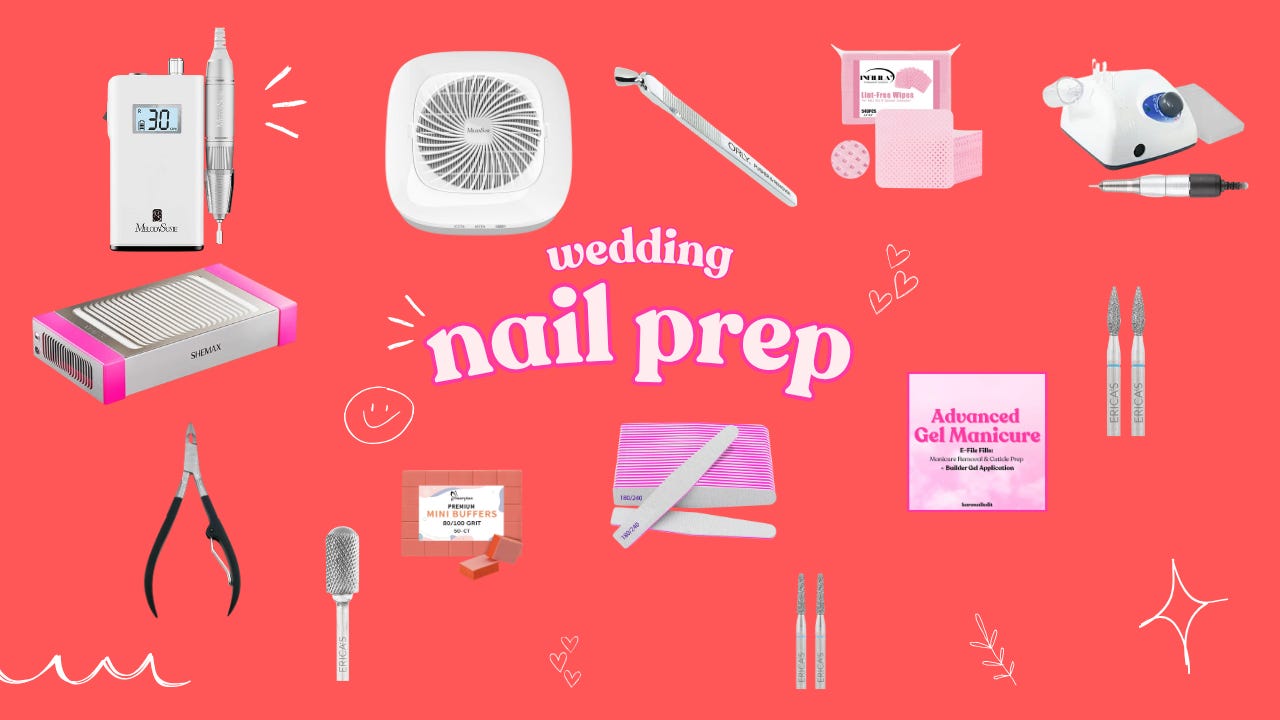
To Rebalance & Remove the Gel:
My E-File (and here’s the portable one I use!)
My Dust Collector (and an amazon one!)
Carbide Removal Bit (use code kara10 for 10% off at Erica’s ATA!)
For Cuticle Work:
Surface Prep:
Cleansing:
Isopropyl Alcohol