Kokoist x Nail Thoughts Vol. 3 Tinted Builder Base Gels Review & Swatches!
HAPPY MONDAY! And HAPPY KOKOIST x NAIL THOUGHTS NEW BASE GEL LAUNCH DAY! There are 12 new beautiful builder base gels launching today and I have lots of exciting info to share about them!
Before we get started:
If you're totally new to the Kokoist gel manicure system, check out this blog post to learn how the products work and how they pair together! Featuring my recommendations for starting out with Kokoist!
I wrote an entire blog post with so much good info about these base gels: what they are, why you use them, how you use them, plus photos of all of the existing colors. Make sure to read that first to learn everything you need to know!
ALSO, BE SURE TO USE MY AFFILIATE LINK & CODE KARA10 FOR 10% OFF ALL KOKOIST PRODUCTS! I *greatly* appreciate it! It costs you nothing, and it tells the brand that you came from me, which allows me to make content like this for you!
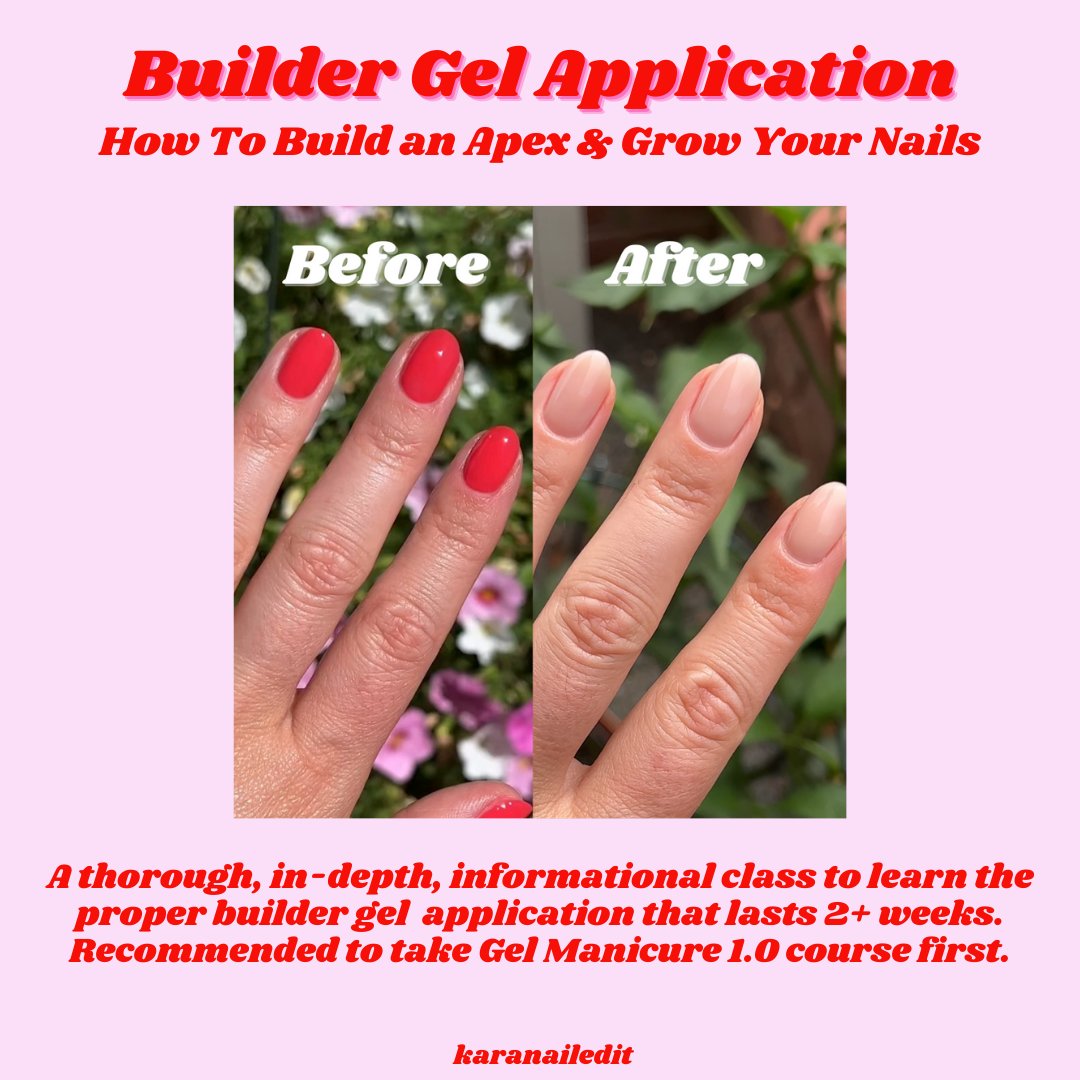
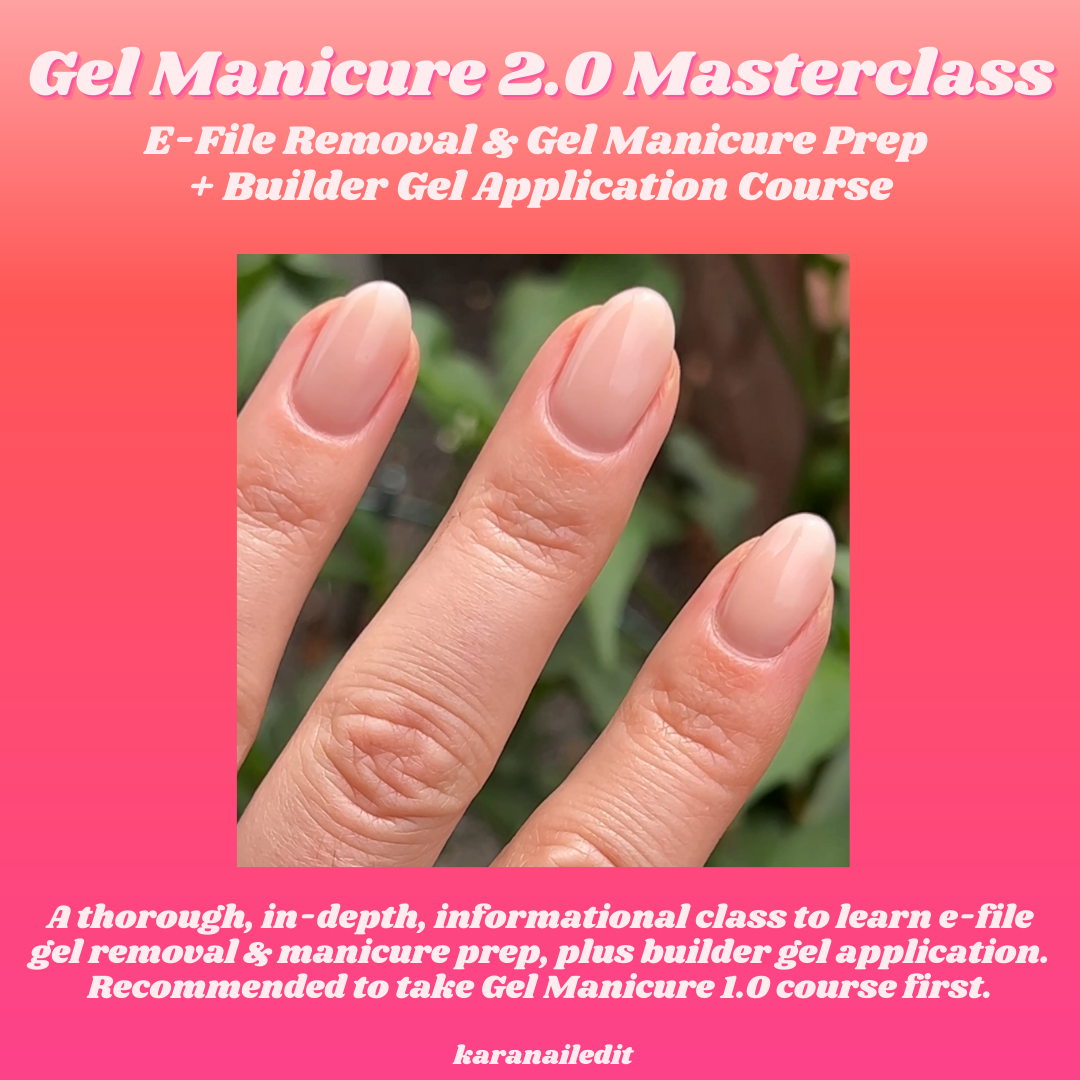
If you're new to builder gel, or you need a little help, you have to check out my builder gel application courses. Plus, take 15% off either the Builder Gel Application course or the Gel Manicure 2.0 Masterclass: Builder Gel + E-File Basics course to celebrate the launch with code BUILDERGEL!
Quick facts about these base gels:
- They’re a base gel, a color, and a builder gel all in one, and they’re pure gel. Read more about pure gel HERE!
- This means you can do a full builder gel manicure with two products (the builder base color gel + a top coat) instead of four products (base gel, builder gel, color gel, top coat).
- They come in 30 colors and a clear version if you just want a clear base which I also love doing!
- Since they’re a base & a color, I find that it doesn’t really chip because it’s not like you’re doing layers upon layers for your manicure, it’s just one or two layers!
- You can use them to build an apex for a plump, healthy nail look, and they make your nails so strong – Make sure to check out my builder gel application course for my exact method for applying these products!!
- Becuase of this, you can grow your nails without them breaking!!
(This is the only product that has really helped my nails grow ***without breaking*** that’s the key.)
- You can in-fill the builder gel – file off the top layers, leaving a thin layer of the gel (which keeps your nails strong but also gives your new manicure something to grip onto) and re-prep and then re-apply the builder gel! – Make sure to check out my e-file & builder gel tutorial course for my exact method of this process!
- This is a really efficient way to do your manicures week after week and I just love it so much!!
Let’s get into the new colors!
I highly recommend checking out my swatch video below to really see the colors in action! The photos hardly do them justice, they're soooo pretty in real life!
Confetti Cake Base
Sheer rosy pink base with chunky rainbow colored glitter!
Shave Ice Base
Clear base polish with glowy golden chunky glitter
Sugar Glaze Base
Warm peachy pink sheer base with golden shimmer
Mochi Base
Cool toned sheer pink base with rainbow shimmer
Bubbly Base
Milky pink sister to Mochi Base. Sheer milky pink with rainbow shimmer
Chai Latte Base
Sheer neutral light brown polish
Baby Cakes Base
Sheer peachy neutral pink base
Honey Tea Base
Peachy sheer polish. Like Peach Base but much more sheer!
Sweet Tea Base
Warm rosy pink sheer. Like your nails are blushing!
Lip Gloss Base
Glassy barely there pink sheer polish. Almost like clear base with a drop of pink added!
Juicy Base
Glassy sheer light lavender polish. With two coats, the purple would really pop!
Blueberry Milk Base
Sheer juicy baby blue polish! Would also pop with two coats.
TOP COAT
This is another step that you absolutely can’t miss. Without a top coat, your gel will get dull and scratched. I only ever use one top coat from Kokoist and that’s because it’s literally the best ever!!! :D
Ultra Glossy Non-Wipe Top Coat

This top coat is SO shiny, it finishes your manicure amazingly, it lasts SO long and it never gets dull or loses it’s shine. It’s basically magic in a bottle!
I also love how it’s non-wipe, so you cure it for 60 seconds, I like to wait a minute for it to cool down, and then I’ll gently touch my nails to make sure they’re not tacky anymore. If they’re not tacky, they’re totally cured, and if they are tacky, they need a little more time! It’s almost a fool-proof method! The best.
RESOURCES:
Builder Gel Application Course
Gel Masterclass 2.0 Course: Builder Gel & E-file Course
Gel Masterclass 1.0: Gel Manicure Foundations, Application & Removal
Gel Manicure Masterclass Bundle
Book a Private 1:1 Masterclass with me!
OTHER BLOG POSTS:
Kokoist x Nail Thoughts Builder Gel Bases Review + Hybrid Gel and Pure Gel Explained! - My review & swatch photos of all of the builder base gels + MORE INFO!
Builder Gel + Base Gel EXPLAINED! - Did you know not all gel is created equal?
How I'm Growing My Nails With Gel - Explaining my favorite gel manicure process that has helped me grow my nails so long!
My Favorite Kokoist Products - A great place to start building your collection!
My Gel Manicure Starter Pack - Lights, prep items, etc!
Gel Polish 101 - Everything you want to know about gel manicures
PRODUCTS:


love it