How To Remove Your Gel Safely ⚠️
One of my most frequently asked questions is HOW DO I REMOVE MY GEL + HOW DO I DO IT SAFELY?! And we’re all in luck because I recently soaked off my gel, and I thought it would be fun to dedicate today’s post to talk about that and also my favorite tools/ways to remove gel in general. Let’s get into it!
I’m breaking this into two parts, one part that I hate doing, and one part that I love doing, personally :)
Let’s start with hate! Which is of course filing off your gel and soaking it off with acetone.
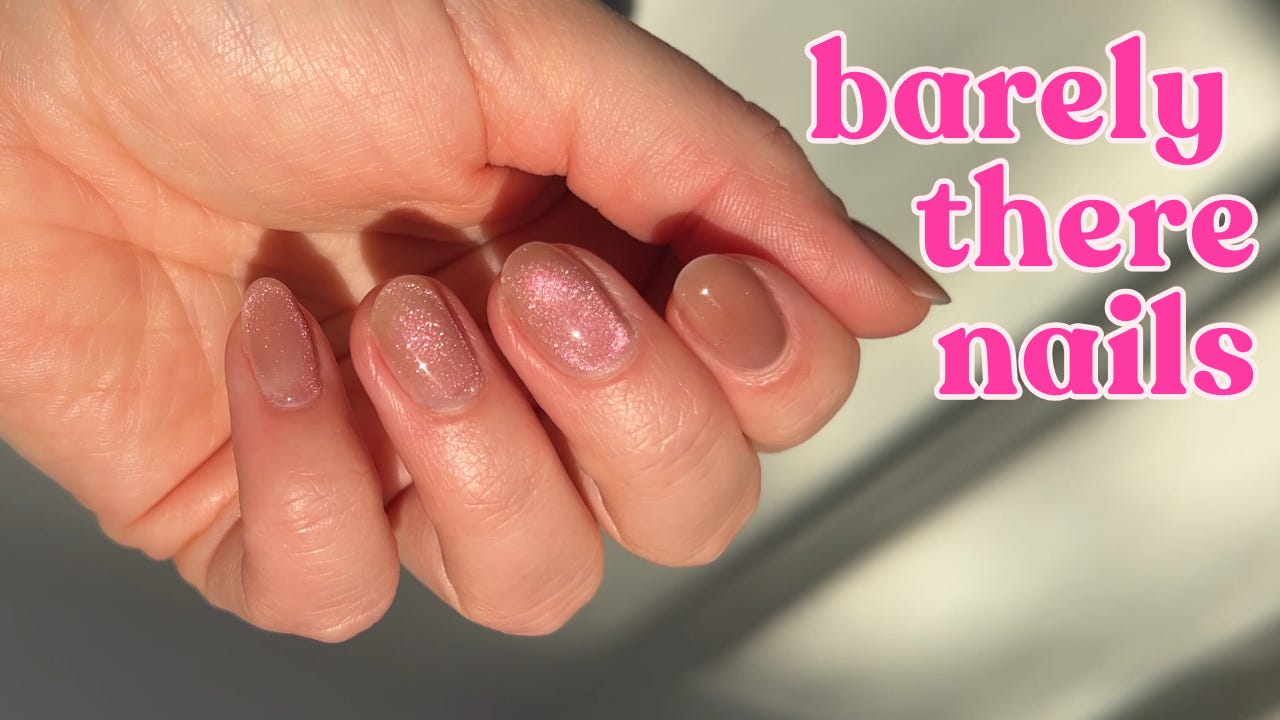
I know I said I just did this, but I had a good reason!! And I explained it in my new youtube video!
But the gist is that soaking off your gel with acetone time and time again can make your nails really dry & brittle. Acetone is very drying and harsh, so when we keep it on our nails for 10-30 mins (it can really take 30 mins if you’re being super gentle, which you should always be!!) it can basically deplete your nails of any natural oils and make them super weak and bendy.
Pair this with a full gel removal which means buffing and (gently) scraping off the product from your nail, and you’re left with dry, flimsy, weak nails. Sometimes… I’m not saying this happens all of the time, but at least for me, it does!! And also, it takes SO LONG!!! For all of those reasons, I prefer my e-file infill method much more, but I do need to remove my gels fully from time to time, so sometimes I’ll do this.
If you prefer this method after all of that slander (kidding :)), here is how to safely and gently do gel removal:
-
If you are only using soft gel (aka - not using builder gel): Use a low grit file to gently file off the top layers of the gel. You want to pretty much fully remove the top coat so the acetone can penetrate through the gel layers. This will look scratchy, rough, and matte. If you see any shiny bits, file them off a little more.
-
If you have builder gel on: I like to use my e-file and essentially do the same removal process I would do if I were doing a fill, where I remove top coat, color, and then de-bulk the builder gel until I’m left with a thin layer.
-
If you don’t do this, the removal will take f o r e v e r because the acetone has so many layers to get through. You really want to only have a thin layer of base/builder gel left on your nails before you start soaking it!
-
-
Use a portion of a cotton ball that is practically dripping in acetone (seriously, be generous), and place it in a gel removal cap
-
If you’re doing this frequently, PLEASE invest in these caps. They are 10000000x easier to use than foil. I don’t have time for foil!
-
-
Let your nails soak for 10-15 minutes
-
I like to use a wash cloth and get it wet with water that’s as hot as you can stand. Wrap your hand in it and let the steam help the gel come off!
-
After the time is up, peek at your gel and see if it starts to lift and peel away from your nail when exposed to air. If it doesn’t, put the cap back on for 5-10 more minutes.
-
When it’s starting to peel off, this is when you can use an orange wood stick or a cuticle pusher and *****GENTLY***** start to push the gel off of your nail. If it’s not budging, put the cap back on and soak it for longer. Sometimes I’ll even file or buff my nails a little more because the acetone is clearly not penetrating through!
-
When you have most of your gel removed, use a sponge buffer to *****GENTLY***** buff the surface of your nail to smooth it out and get off any excess product
-
Then you can prep your nails as usual, or I recommend using a treatment to seal your nails and protect them so they don’t feel quite as weak and exposed!
-
I really love this new To The Rescue treatment from essie! It actually kind of looks like you have builder gel on when you use it too because it’s really thick, and it has really good ingredients in it to help repair damaged nails too!
-
-
Make sure to use cuticle oil to rehydrate after all of that acetone exposure!
Here are the products I recommend:
Now for my favorite process, the e-file fill!
Here is why I love it:
First off - I use my e-file for gel manicure removal & manicure prep! I like to think of the e-file as just a step in my prep process. But also, the e-file:
-
Allows me to do a fully dry manicure
-
Helps me do a QUICK & efficient gel manicure
-
Allows me to keep a thin layer of base gel on my nail surface, and gives my nails additional protection!
-
Cuticle bits allow you to get extremely precise and can help with longevity
-
Takes a little bit of practice, but once you get the hang of it, you will love it!
If you want to learn how to do this *safely* on yourself or clients, I recommend checking out my E-File Basics Class or my Advanced Gel Manicure Class (which covers e-file removal, cuticle work, and also builder gel application!). And they’re on sale right now for 15% off!!!
I go over the exact steps in the course, and I HIGHLY recommend checking it out because while the e-file is very user friendly and possible to use with no experience, there is a learning curve which took me a WHILE to understand, I did all of the testing so you don’t have to!
You can just learn the good parts and start using it correctly. I’ve gotten so many messages from people who have tried this course saying that it has helped them so much, whether they have never used it before, or were using it incorrectly! I promise you you can figure it out and it will make such a big difference in your manicure process once you try.
Here are the products I use for this process:
My new desktop e-file - I’m obsessed with it!
The only clean bit!!! (really great for damage free cuticle work!)
I ALWAYS use builder gel, so this allows me to do an infill which means I pretty much never remove the gel fully from my nails, which means I never soak them in acetone, which means they’re super strong and not suffering from all of the cons of soaking off gel in acetone!
If you want to know more about builder gel, check out this blog post!
Ok here is my process for fills:
-
Use the gel removal bit to file off the top layers of gel leaving a thin layer of builder gel or base gel on my nail
-
Use the cuticle bit to gently exfoliate any cuticle and hard reach gel off of my nail
-
Then I transition to a hand file and buffer to smooth out the surface of my nails so they’re ready to be painted over without having too many bumps/ridges
-
Then I move on to my normal prep process (shaping, nipping, cleansing) and applying a new layer of builder gel!
And here is a full tutorial of how I remove my gel fully *SAFELY*!!! It really wasn’t that bad, even though I much prefer fills! Sometimes you just want a fresh start so it’s great to have both options :)
LMK if you have any questions!


