Erica's ATA Certification & My Favorite Bits!
Last week, I had the opportunity to travel to Texas for a nail-filled week full of trainings, queso and so much fun, and I wanted to share some exciting outcomes and photos from my trip with you all! 🤠
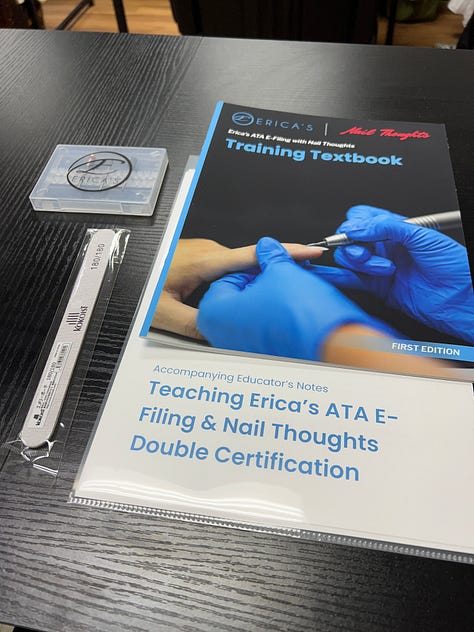
I became an educator with Kokoist and Nail Thoughts about a year and a half ago and it has been one of the highlights of my career! So I was so excited to be invited back to a new educator training in San Antonio for something super exciting - E-file training with Erica’s ATA and Japanese Nail Art Training!!! Even though I *LOVE* doing dry manicures with an e-file every manicure, I have done an in-person training to hone in my skills.
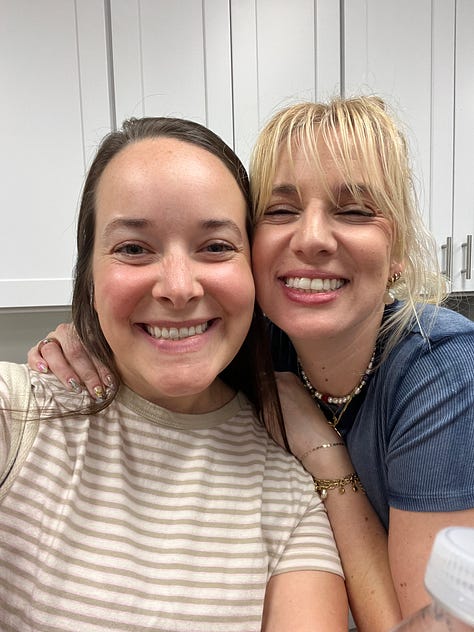
In nail school, I am pretty sure our instructor gave us an e-file and said “you can use this now” with little to no other explanation. Then I took a few online classes to learn how to actually safely use the e-file and different bits, but this was super special because we learned from Erica herself and Hilary Dawn Herrera, two legends in the industry. One of my favorite parts of the training was having them watch what I was doing and getting direct feedback. I am usually just working on clients or alone in my house so to get some direction and advice in real time was so special.
And now, I’m officially certified to teach the Erica’s ATA method of e-filing alongside the Nail Thoughts certification - so it’s a new double certification opportunity! I don’t have any dates scheduled for this new certification yet, but I would love to gauge your interest and I can get in touch with you when the new classes are ready for you. If you want to stay in the loop, please fill out this form with your email address!
Erica’s ATA E-Filing Method Rundown:
In case you’re not familiar, Erica’s ATA is one of the best places I’ve found to get super high quality bits to use for dry manicures with an e-file. One thing that really sets them apart for me is the quality of their bits and how much faster a manicure goes when I use them. The diamond bits are actually made with 100% diamond unlike some bits from other places that mix diamond with sand or glass (literally spooky to put that on your nails). And their carbide bits are so smooth and quick to use.
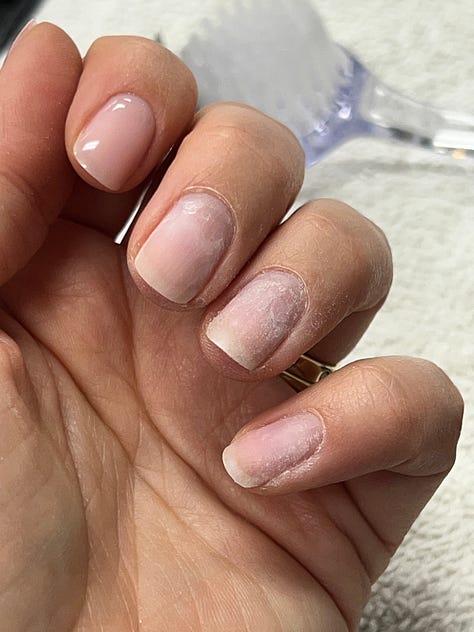
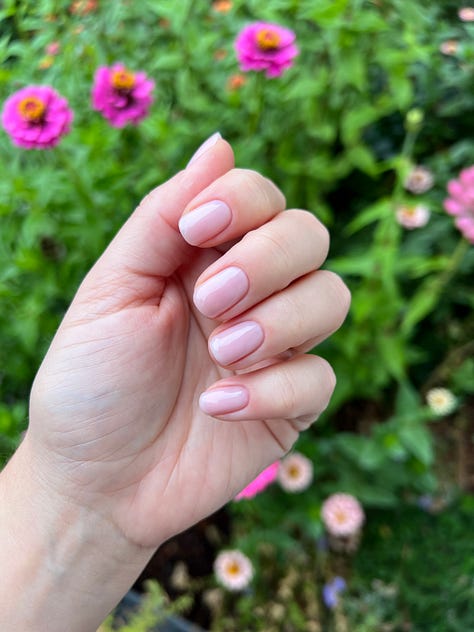
You’re probably familiar with a dry manicure if you’ve been following me, but essentially it’s a manicure done without any liquid elements. And to take it even further, I love using an e-file and a few different bits to rebalance the gel and do really detailed cuticle work for long lasting and great looking manicures!! One of my favorite things about using really good bits is that you really only need 2 or 3 bits to do this process and have it look perfect. You can of course add a few more to do a bit more, but you will be perfectly fine with just the basics too. Here are my top picks including the essentials and the extras!
My Favorite Cuticle Bits:
PS - I’m now an affiliate with Erica’s as well so you can use my code KARA10 for 10% off everything on their site!! In addition to bits, they also have gel polish, e-files, manicure tools and more!
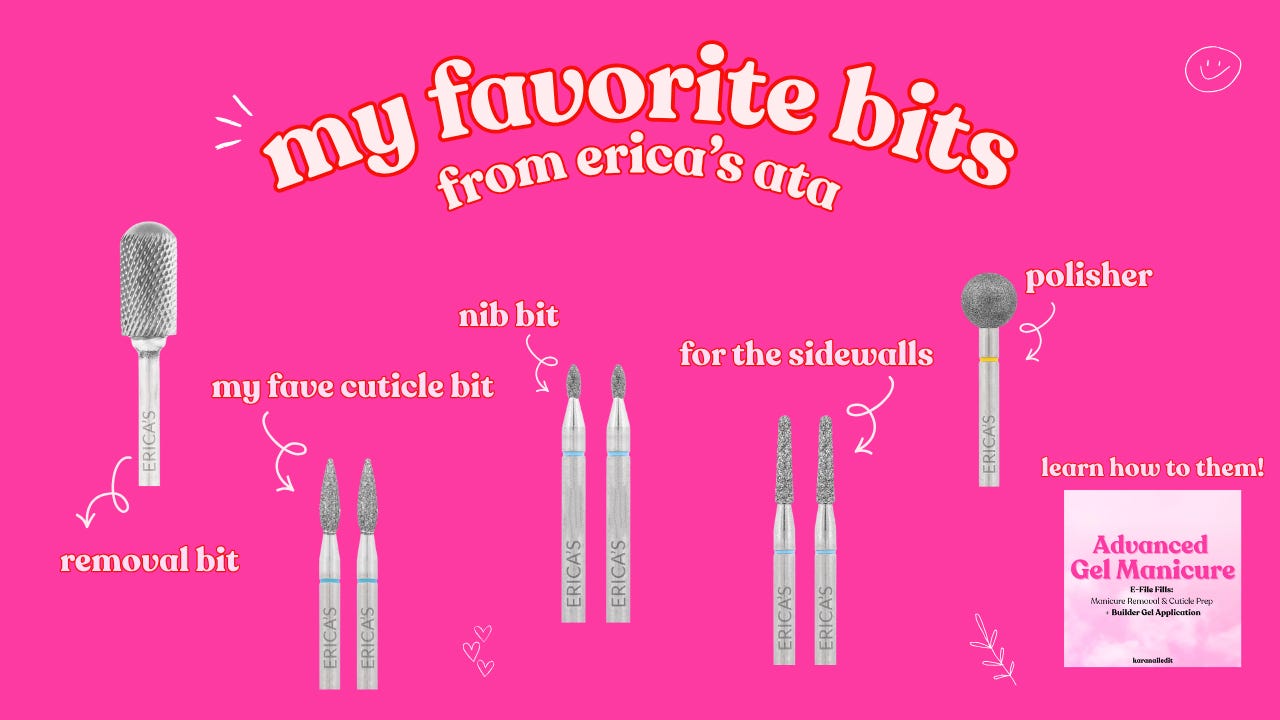
Carbide Removal Bit (essential): This bit is meant to be used on top of built up gel (aka builder gel overlays) for safe use. I use it to rebalance my gel and remove the top layers! This one is my favorite shape.
Precision Flame Diamond Bit (essential): This bit is fine enough to use on your natural nails to exfoliate cuticle and dry skin. It’s amazing at lifting up the skin around nails so you can polish super precisely and safely too!
Micro Taper Bit (non-essential): Since this bit has a straight edge (compared to the flame bit), it’s safe to use alongside your sidewalls without damaging your nails and causing issues with your nail detaching. I love using this to lift the skin around my sidewalls because I find it just helps me polish so cleanly!
Nib Bit (non-essential/essential): I think it’s essential to have one removal bit and one cuticle bit, but there are several types of both so it all comes down to preference! I would say I use my flame bit 95% of the time but I also love having the nib bit in my kit for hard to reach or tricky little bits that won’t come off!
Polisher Bit (non-essential): Although this isn’t essential, I think it’s soooo worth it! You can gently exfoliate the skin around the nails with the flame bit, but I find this one so much easier and more comfortable to use personally. I use this bit at the end of the manicure after applying cuticle oil. It works with the oil to buff off dead skin which leaves the skin free of hangnails and rough spots and I think it keeps your manicures looking fresh and flawless for sooo long. I’m obsessed!
If you’re interested in seeing more about these bits, I’ve put them all in one convenient place for you here :)
And if you want to learn how to use these bits safely, make sure to check out my Advanced Gel Manicure Class on my website! You can use code loveletter10 for 10% off your first class if you’re a newsletter subscriber!
San Antonio Recap!
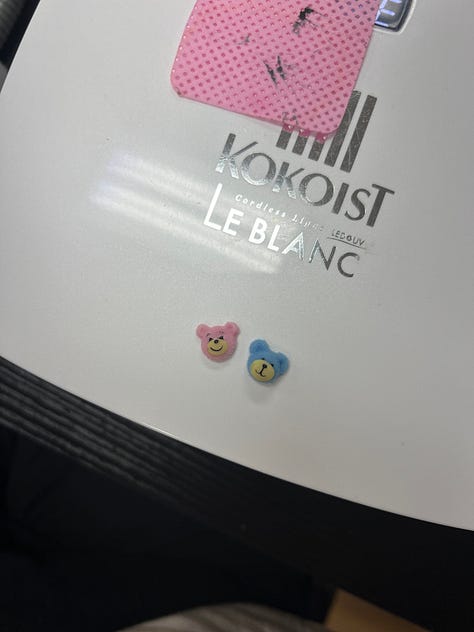
In additional to doing the Erica’s ATA class, we also did a nail art class with two of Kokoist’s head educators from Japan! We learned some new magnet gel techniques and how to do some 3D sculpting gel nail art with their new fluffy topper called Pushu Pushu! We made little bears and they’re sooo cute. I can’t wait to play with them more!
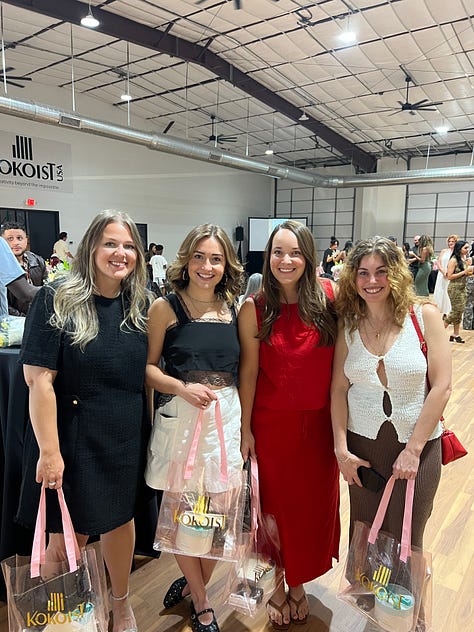
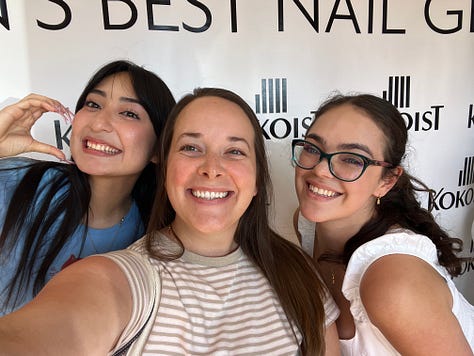
We also had a celebration at the new Kokoist HQ building, we got to bond with all of the Kokoist team, educators and other nail artists, and I ate sooo much good food. It was such a fun trip and I always come back feeling so inspired :)
Thanks for reading and I hope you enjoyed this little recap of my trip! Make sure to check out these bits and add your email HERE if you’re interested in learning more about the Erica’s ATA online certification once it’s ready :)
Talk to you sooooon! BYE! 💋

